Hello everybody, it’s Drew, welcome to our recipe page. Today, we’re going to make a special dish, rosehip and apple jelly. One of my favorites food recipes. For mine, I am going to make it a little bit tasty. This is gonna smell and look delicious.
Rosehip and Apple Jelly is one of the most popular of recent trending meals in the world. It is appreciated by millions every day. It is simple, it’s quick, it tastes yummy. Rosehip and Apple Jelly is something which I have loved my entire life. They’re fine and they look wonderful.
Guide to Prepare Rosehip and Apple Jelly
To begin with this particular recipe, we must prepare a few components. You can cook rosehip and apple jelly using 5 ingredients and 15 steps. Here is how you cook that.
Ingredients
The ingredients needed to make Rosehip and Apple Jelly:
- Prepare 1300 g rosehips
- Prepare 1 kg apples
- Get 800 g sugar
- Take 2 L water
- Make ready 6 jam jars
Instructions
Instructions to make Rosehip and Apple Jelly:
- Wash the rosehips and remove and leaves and stems. Bag up and freeze.
- After 2 days defrost the rosehips. This freezing makes them easier to break down.
- Put the hips in a pan and cover with water. Bring to a boil and start crushing the hips with a potato masher until they are all broken.
- Keep on a simmer for an hour, then allow to cool. We will now try to separate the liquid from the seeds.
- Pour the liquid through a sieve. You may need to do this in batches. Try and push through as much of the red paste as you can using a spoon. You will end up with a cloudy red liquid. Throw away the seeds.
- Clean the sieve and layer it with cheesecloth/muslin. Pour the red liquid back through the sieve. This time the cloth will capture the rosehip puré and you will be left with a clearish liquid. You can set aside this puré and use it like apple puré.
- Wash and dice the apples. Put in a pan and add the rosehip liquid. Bring to a rolling boil and mash the apples. Reduce to simmer for 30min.
- When cool enough to handle, pour the contents of the pan through the sieve to get the apple/rosehip liquid.
- Return the liquid to the pan with the sugar. Keep on a boil and monitor the temperature. A white foam / scum will form that you will want to scoop out to get a clear jelly.
- Prepare 6 jam jars. Wash clean, and rinse with boiling water.
- Reduce the liquid by letting it boil away. The jelly will be darkening and thickening. The temperature needs to reach above 104C but you really want to ensure that when cool the jelly is set.
- Put metal spoons in the freezer. Every couple of minutes towards the end, take out a spoon and with your stirring spoon, put a small drop of jelly on the cold spoon. It should form a film and solidify to the point where it doesn't run when inclined. If runny, keep boiling.
- Remember that boiling jam/jelly is incredibly hot so be very careful at this stage.
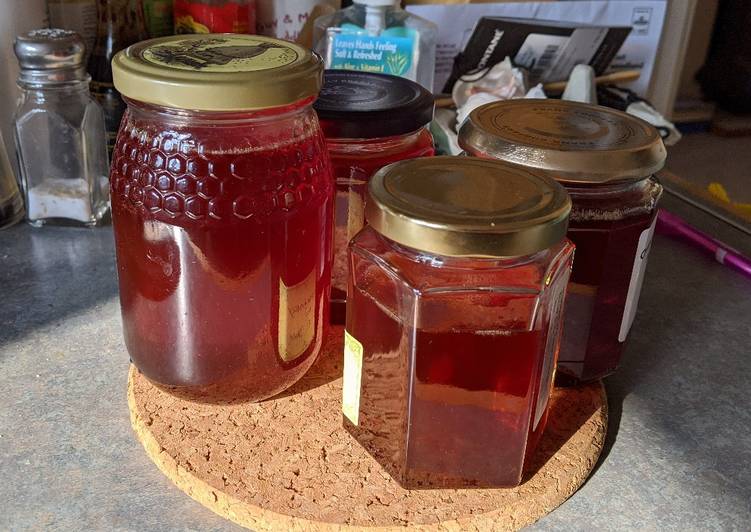
- Pour the jelly into the jam jars. It can be easier to pour into a plastic jug, and then use that to fill the jars. This creates more washing up though.
- Using oven gloves hold the jam jars and screw on the lids. The jam jars will be very hot. Allow to cool. Label the jars. When cooled the air inside the jar will shrink in size and pull down the popping/clicking part of the lid. This is why open jars click, and unopened ones do not.
As simple as that How to Make Rosehip and Apple Jelly
So that is going to wrap it up for this exceptional food rosehip and apple jelly recipe. Thank you very much for reading. I am sure you can make this at home. There is gonna be interesting food at home recipes coming up. Don’t forget to bookmark this page on your browser, and share it to your loved ones, friends and colleague. Thank you for reading. Go on get cooking!
Print this page