Hey everyone, it is me again, Dan, welcome to my recipe site. Today, I’m gonna show you how to make a special dish, karjikai/karanji. One of my favorites. For mine, I will make it a bit unique. This is gonna smell and look delicious.
'Karjikai' - a deep fried snack prepared popular in Karnataka, prepared during festivities and celebrations, especially 'Ganesh Chaturthi' and 'Deepavali'. Karijukai or Karjikai also called Gujiya is a popular crispy sweet snack with crisp shell made of dough and a delicious sweet stuffing. Karjikai recipe explained with step by step pictures and a video.
Karjikai/Karanji is one of the most favored of current trending foods on earth. It’s enjoyed by millions every day. It’s easy, it is fast, it tastes yummy. They’re nice and they look wonderful. Karjikai/Karanji is something that I’ve loved my whole life.
Recipe of Karjikai/Karanji
To begin with this recipe, we must first prepare a few components. You can cook karjikai/karanji using 12 ingredients and 6 steps. Here is how you cook it.
Ingredients
The ingredients needed to make Karjikai/Karanji:
- Get 1 cup Maida/All purpose flour
- Get 1/2 cup fine sooji
- Take 1 teaspoon sugar
- Make ready Pinch salt
- Prepare 2 teaspoon ghee
- Prepare Oil for deep frying
- Make ready For filling
- Take 1 cup Roasted channa dal
- Prepare 3/4 cup jaggery/sugar
- Prepare 1-2 cardamom seeds
- Prepare 1/2 cup dry coconut powder
- Make ready Chopped almonds and cashews (optional)
Karanji Recipe, How to make Authentic Maharashtrian Karanji Recipe. I never used to like sweets and savories always used to win over sweets for me. Wheat flour karjikayi/hittina karjikayi/karanji recipe/gujiya recipe/karjikai sweet recipe. Namma Adige, A kannada cooking channel, Receipes in kannada, #Karjikayi#Karikadabu Today's special is #Karjikai or Karanji, This delicious receipe is considered as Ganapathiji favourite sweet.
Instructions
Instructions to make Karjikai/Karanji:
- Mix Maida, sooji, sugar n pinch of salt in a mixing bowl add some ghee and mix everything together with water to make a soft dough knead it for 3 minutes(just like chapati dough but bit softer than that) cover it with wet cloth and place it aside for 1 hour
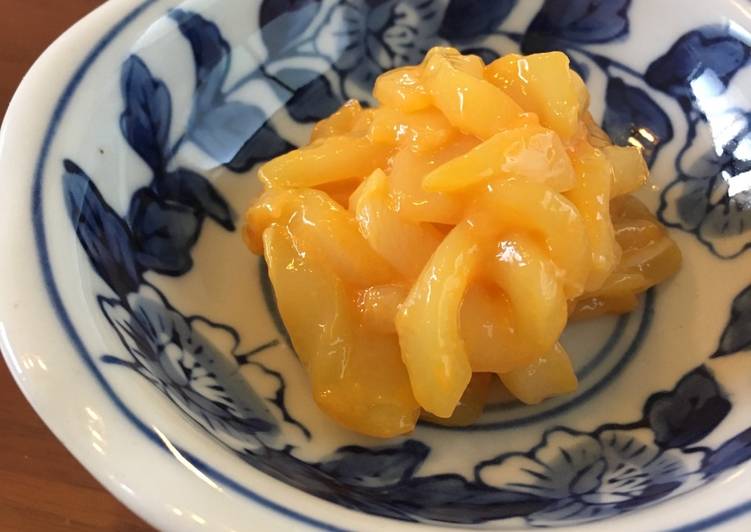
- Take all the filling ingredients (except nuts) in a blender and grind it to fine/coarse powder
- Take a karjikai mould (available in market)
- Take the dough knead it for 2 minutes then take a small portions of it and roll it like a poori shape then place it on the mould apply very little amount of water to the edges with the help of finger tip and then add the filling powder in the middle then close the mould properly gently press all the edges
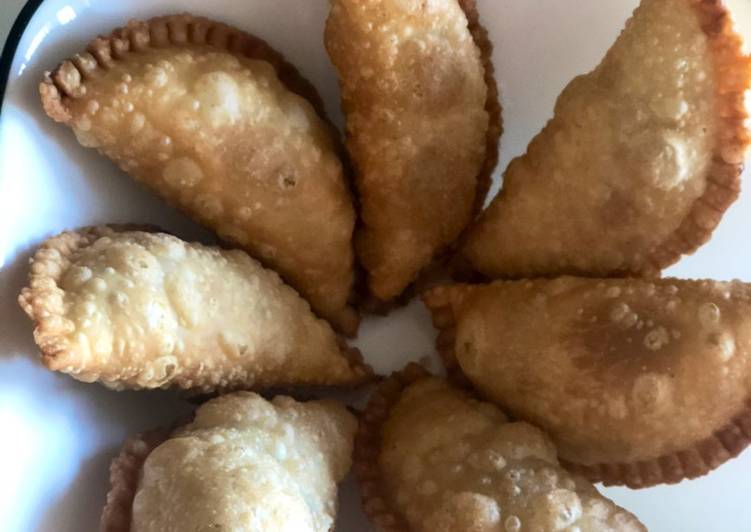
- Keep the oil in deep frying pan once the oil is hot enough then place the prepared karanji on oil let oil be on medium flame fry to golden brown
- Store karanji in a airtight box
Karanji - Gugra Gujiya - Sweet Snacks Recipe - Crispy Sweet Dish Recipe by Ruchi Bharani HD. Laddu Recipe - Gujiya Recipe - Rawa Karanji - Grandma's Style - Village Style - Village Food Secrets. Adding Rava and butter gives crispness to outer layer. Deep fry in a medium flame, and karanji should not be crowded while frying. Gujiya, Karanji, Karjikai or Kajjkayalu is popular Diwali or Holi sweet recipe.
As simple as that Easiest Way to Prepare Karjikai/Karanji
So that is going to wrap this up for this special food karjikai/karanji recipe. Thank you very much for reading. I am sure you can make this at home. There’s gonna be interesting food at home recipes coming up. Remember to save this page in your browser, and share it to your loved ones, colleague and friends. Thank you for reading. Go on get cooking!
Print this page